The Ultimate Baking Hack: Using a Mug Warmer for Proofing Dough
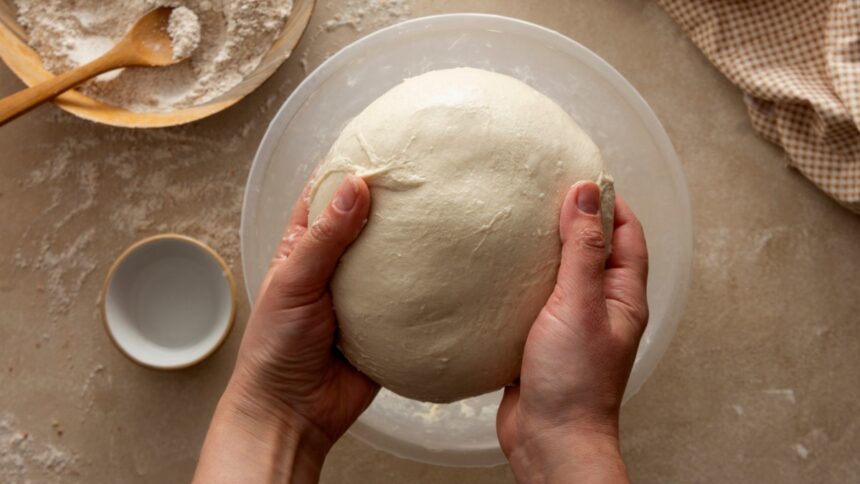
Creating your own bread can be incredibly fulfilling, yet the extensive time it requires might deter some individuals. The lengthy hours involved in producing a loaf can largely be attributed to the essential proofing stage, which cannot be expedited. While professional bakeries and certain domestic kitchens boast proofing drawers designed to maintain optimal temperatures and hasten this process, most households lack such amenities. Luckily, there’s a clever alternative: utilize a mug warmer to proof your dough instead of waiting until the break of day for it to “double in size.”
The idea of using a simple mug warmer struck years ago while experimenting with pour-over coffee, which I find to be far superior to the traditional drip method. However, one drawback of brewing a larger pour-over batch is that the heat dissipates quickly from my glass carafe. This is where the mug warmer comes into play. Its highest setting maintains the perfect temperature for my carafe, and it even provides two lower settings for those who enjoy their coffee lukewarm. This device had faithfully served its purpose for me all along, without considering its potential for proofing dough.
One day, while scrolling through Instagram, I encountered a product labeled as a “dough riser.” It struck me as peculiar that it resembled my mug warmer closely. To my surprise, it essentially was a mug warmer. After years of painstakingly proofing dough in chilly conditions, the answer had been right there before me all this time. This $20 warming pad, designed to maintain a low temperature for an extended period, is ideal for proofing bread.
When Coffee Isn’t Being Warmed, Consider Proofing Dough with These:
Setting Up Your Dough Proofing Station

Many economical mug warmers feature two or three adjustable temperature settings. Since yeast thrives best at temperatures ranging from 80°F to 90°F, getting as close to this range as possible is ideal. Standard coffee warmers, even on their lowest setting, are generally hotter, as an 85°F cup of coffee feels cool to a human mouth with a temperature of 98°F. A recent measurement using a surface thermometer revealed that my warmer’s lowest setting reached 169°F. According to Bob’s Red Mill, yeast begins to die around 120°F, and it struggles to survive at temperatures above 140°F. Thus, even the lowest setting on my warmer is excessively hot.
Fortunately, managing the heat is achievable. Instead of using a towel or oven mitt, a small plate served as a simple and reliable buffer. The plate’s base fit perfectly on the mug warmer, raising it slightly and allowing for some spacing. After letting the plate heat for a few minutes, I measured its temperature and found it was a cozy 88°F—just what was needed.
If infrared thermometers aren’t at hand, a simple touch can suffice. After allowing the plate to warm for a few minutes, place your hand on the center. It should provide a comforting warmth, similar to that of freshly laundered clothes. Yeast prefers warm comfort just like humans do. If it feels too hot to comfortably touch for a few seconds, consider using a thicker plate, or adding a folded tea towel to create an effective buffer.
Evaluating the Effectiveness

To test the effectiveness of this method, two portions of dough were created from a basic white bread recipe. The dough was evenly divided, with the first side placed on the 88°F heated plate and the second left to rise on the kitchen counter, which had a temperature of 68°F.

After one hour, the difference was subtle; however, after two hours—the usual proofing time specified in most recipes—the yeast demonstrated notable activity discrepancies. Although the lighting might obscure the details, careful examination reveals that the dough on the warmer had effectively doubled in size, with plentiful bubbles forming underneath compared to the one on the countertop. Consequently, the first dough was shaped and prepared for baking, while the second continued proofing.
It’s essential to recognize that most bread recipes comprise two distinct proofing stages: one preceding shaping and another prior to baking. This mug warmer method primarily enhances the initial proofing period, yet this phase is arguably the most crucial. It tends to be the longest and most laborious part of the process, where yeast actively develops. Success during the first proof increases the likelihood that the subsequent proof will be brief, generally around 45 minutes. However, a solution exists for managing the second proof as well. Since this stage typically coincides with the oven preheating, placing the covered dough on the warm stove creates a suitable proofing area right at hand.


