The Arrival of Switch 2: Essential Steps Before You Upgrade
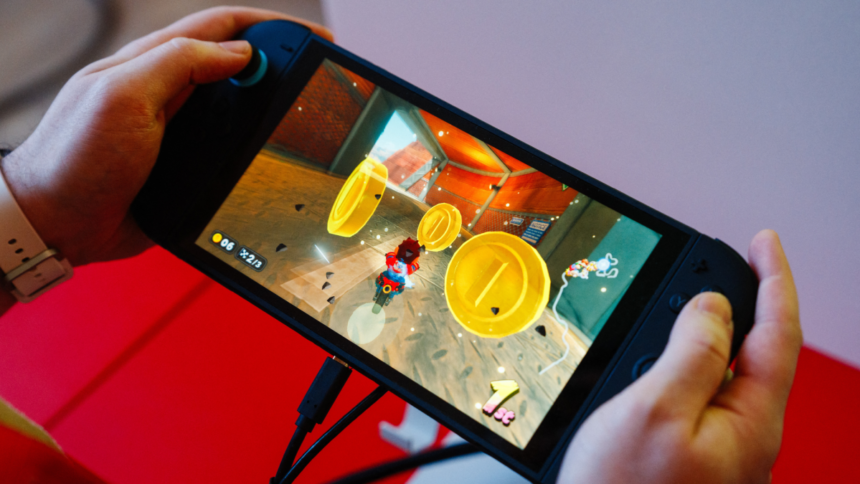
This week marks the highly anticipated launch of the Switch 2, assuming you were fortunate enough to secure a preorder. For those contemplating an upgrade, selling your old console could help mitigate the financial impact, especially considering the recent effects of tariffs. But before listing your beloved device on eBay, it’s essential to ensure it’s properly cleaned out.
A factory reset is a crucial step when selling any electronic device to protect your personal information, payment details, and account access. With the Switch, careful attention is needed, particularly if you have game saves, screenshots, or video captures you wish to retain.
Utilize the System Transfer Tool for Hassle-Free Upgrades
For those transitioning from the original Switch to the Switch 2, the System Transfer tool offers a seamless method to move all your games, save files, screenshots, and clips to the newer model. It’s the simplest option for most users.
However, there are a couple of important notes to consider. First, both consoles need to be physically present to initiate the transfer. If you’re aiming to sell your Switch to help fund your new system, it’s wise to back up your data beforehand.
Second, the transfer tool supports only one Nintendo account on a personal console. If the Switch is shared among family or friends—particularly those outside a Switch Online family membership—you may need to manually save or migrate their data through the processes outlined below.
Regardless of the method used, a factory reset of the device is essential before parting with it, which will be explained further on.
Backing Up or Transferring Your Game Saves
Your game data is typically stored locally on the Switch, which is beneficial for portable gaming without constant internet access. However, this can complicate saving your progress before a factory reset. Additionally, save data can only be backed up to the cloud for users with a Nintendo Switch Online subscription—although there are ways to obtain a free trial.
If you do have a Switch Online subscription, cloud saves are generally activated for supported games. You can check if a game supports this feature by selecting it on your Home screen, pressing the + button, and then selecting Save Data Cloud. This will show you the last backup date for the chosen user.
For those without a Switch Online membership, you still have alternatives that don’t involve the cloud. Navigate to System Settings from the Home screen, select Data Management, and find the Transfer Your Save Data option.
This method will require both consoles to be in close proximity, making it optimal for users who are upgrading. However, it’s useful for other profiles to ensure that save data is not lost during the transition.
Options for Storing or Transferring Screenshots and Clips
If you’re keen on preserving the multitude of screenshots and 30-second video clips collected on your Switch, you have several options. The System Transfer tool can facilitate moving these to your new console, but you may also opt for more direct backup options.
Access System Settings and go to Data Management to manage your screenshots and videos. There, you can adjust the storage location; using a microSD card is advisable to save space. The Switch 2 features 256GB of internal storage, while the original Switch only has 32GB (or 64GB for the OLED variant). Store your media on the card to keep your internal data free for games.
If storage management has been implemented in the past, you may already have completed this process. You can transfer your images and videos from system memory to the microSD card all at once or selectively.
Another handy method involves connecting the Switch to a computer via USB, simplifying the transfer of media files without a microSD card. Once the media is safely relocated, you’re prepared to reset your device.
Resetting Your Switch to Factory Settings
Once all your important data has been securely backed up elsewhere, it’s time to reset your console. Important: If you haven’t utilized the System Transfer tool, ensuring all your data is safely stored is crucial.
To proceed, access System Settings, scroll to the bottom, and select System. Continue to the end of that section and choose the Formatting Options, then select Initialize Console. Nintendo takes precautions against accidental resets, and you’ll be presented with several warnings to confirm your intent to erase all system memory. It’s vital to double-check that everything necessary is retrieved before proceeding; plugging your console into a power source during this process is also advisable. Expect the reset to take a few minutes, after which your console will reboot as if it were brand new.
Remember to Collect Your Cartridges and MicroSD Cards!
After the intensive backup process, it would be unfortunate to sell your console with a game cartridge or the microSD card still inside. Now that this has been highlighted, nothing will be overlooked!
Ensure any cartridge is removed only after the game has been closed and you’re back at the Home screen. Nintendo recommends this approach to avoid any save data issues or related complications.
The microSD card can easily be missed because it is often hidden beneath the kickstand. Lift the kickstand, gently push the card, and it will disengage. It’s wise to ensure nothing is using the card when doing this, whether it’s active software or media being viewed. When in doubt, power off the console completely.
With all these steps followed, you are now ready to either sell or give away your old console. If data backup was completed prior to acquiring your new model, securely store your microSD card and keep that Switch Online subscription active for your new device.


