Maximizing Your AirPods Pro: Essential Settings and Features
Apple’s AirPods Pro rank high among the top wireless earbuds available, particularly for those who are deeply integrated within the Apple ecosystem. As is typical of Apple’s offerings, these earbuds offer an uncomplicated setup process and ease of use. Nevertheless, numerous settings can be adjusted from their default configurations to enhance your experience.
When discussing AirPods Pro settings, these can be accessed through Settings > [Your AirPods] on iOS. Alternatively, these settings are available under Settings > Bluetooth (iOS) or System Settings > Bluetooth (macOS) by tapping the (i) (iOS) or Options (macOS) next to your AirPods Pro in the respective lists.
Keep in mind that your AirPods Pro must be connected to your device to modify these settings.
Disabling Automatic Device Switching
If you own multiple Apple devices, a noteworthy feature of the AirPods Pro is their ability to automatically connect to any device playing media, even if it’s not the one they’re originally paired with. While this can be useful, it may lead to interruptions when you switch between devices, for instance, when a video is tapped on your iPhone, causing the AirPods Pro to disconnect from your Mac.
To turn off this behavior, navigate to your AirPods Pro settings and select Connect to This iPhone or Connect to This Mac. From here, choose When Last Connected to This iPhone or When Last Connected to This Mac, effectively preventing automatic switching from occurring.
If you ever decide you miss the convenience of automatic audio output switching, simply return to this setting and select Automatically again. This feature can enhance your experience if you typically use one audio source at a time. However, it can be disruptive if, for example, you are listening to music on your iPhone and it halts when a video plays on your Mac.
Efficient Device Switching Made Simple
If you prefer a hands-on approach to switching devices, follow this method: Access the Control Center, select the AirPlay button located in the upper-right corner of the Now Playing screen (or the Sound window on Mac), and choose your AirPods Pro from the device list. Allow a moment for the earbuds to establish a connection – this process is generally quite fast.
Audio Sharing with AirPods
An exciting feature available on compatible headphones is the ability to share audio across two devices simultaneously. This means you can enjoy audio through your AirPods Pro while a friend listens via their AirPods or Beats headphones.
To activate this, return to the AirPlay button in the Now Playing section of your Control Center. Select Share Audio. If pairing AirPods or AirPods Pro, bring them near your device while they remain in their case with the lid opened. For AirPods Max, hold them close to the device, and for Beats headphones, enable pairing mode and position them close to your device.
Personalizing Stem Controls
Your AirPods Pro come equipped with a variety of controls along the stems. You can long-press to switch among Noise Control modes (Noise Cancellation, Transparency Mode, Adaptive Audio for AirPods Pro 2, and Off). Moreover, quick presses can manage other functions:
-
Single press to play or pause music.
-
Single press to accept or end a call.
-
Double press to skip to the next track.
-
Triple press to return to the previous track.
Volume Control from the Stem (AirPods Pro 2)
Users of the second-generation AirPods Pro can also manage volume directly from the stems. By placing your thumb on the stem and swiping up or down with your index finger on the touch control, you can easily adjust the audio levels.
Using Adaptive Audio (AirPods Pro 2)
Transparency Mode is beneficial as it allows environmental sounds to filter through, keeping you engaged with conversations or aware of surrounding traffic. AirPods Pro 2 enhance this with “Adaptive Audio” (previously known as Adaptive Transparency), which adjusts to block out sounds exceeding 85dB in real-time. This feature makes it feasible to wear the AirPods to concerts without losing the overall experience, as it allows you to hear sounds below the threshold while muting louder noises effectively, functioning similarly to advanced earplugs.
To enable Adaptive Audio, access the Control Center: long-press the volume slider, then long-press Noise Control and select Adaptive. You can fine-tune how much sound is allowed with this setting through Settings > Bluetooth, choosing More Info next to your AirPods, selecting Adaptive Audio, and adjusting the slider.
Configuring Conversation Awareness (AirPods Pro 2)
Conversation Awareness is another feature exclusive to AirPods Pro 2. This capability enables the earbuds to recognize when you begin speaking, resulting in a reduction in audio playback volume while activating Transparency Mode. For spoken media such as podcasts, playback pauses after a few moments. To toggle this setting, access your AirPods settings and enable Conversation Awareness, or find it by long-pressing the volume slider within the Control Center.
Select Personalized Volume (AirPods Pro 2)
On the same settings page, you will discover the Personalized Volume option, which employs machine learning to analyze your listening preferences and modify your AirPods’ volume automatically.
Effortless Changing of Noise Control Modes via Control Center
Instead of relying solely on your AirPods Pro stem for toggling Noise Control modes, this can also be accomplished through the Control Center. Long-press the volume slider, then select the “Noise Control” option at the bottom left to see your three options: “Noise Cancellation,” “Off,” and “Transparency.”
Tailor Your Stem Controls
By default, pressing the stem on your AirPods cycles through the Noise Control modes (excluding “Off”). However, these controls are customizable. Within your AirPods Pro settings, find the Press And Hold AirPods option to adjust settings for either the left or right AirPod.
You can set a stem press to activate Noise Control or Siri. If you select Noise Control, this can include all three modes, making it a great opportunity to add the “Off” mode to your list, as it isn’t included by default. This setting can help conserve battery life.
Activating Spatial Audio
Spatial Audio offers a three-dimensional auditory experience that tracks movement relative to your iPhone. It can also be set to remain fixed in position. To enable this convenience, open Control Center, long-press the volume slider, and ensure Spatial Audio is switched on.
Customizing Your Spatial Audio Experience
Spatial Audio can be tailored to your individual preferences. Using your iPhone, you can scan your ear and head shape, creating a personalized Spatial Audio profile that syncs across all your Apple devices. This ensures that the Spatial Audio experience remains consistent whether you are listening on your iPhone, iPad, or Mac.
To begin, navigate to your AirPods Pro settings, select Personalized Spatial Audio, and click on Personalized Spatial Audio again to initiate the setup process.
Verifying Your Case’s Wireless Charging Indicator
Each AirPods Pro model is accompanied by a wireless charging case. A useful feature allows you to tap the top of the case while it is on a wireless charger to check the charging status. An orange light signifies that charging is in progress, while green indicates that the earbuds are fully charged and ready for use.
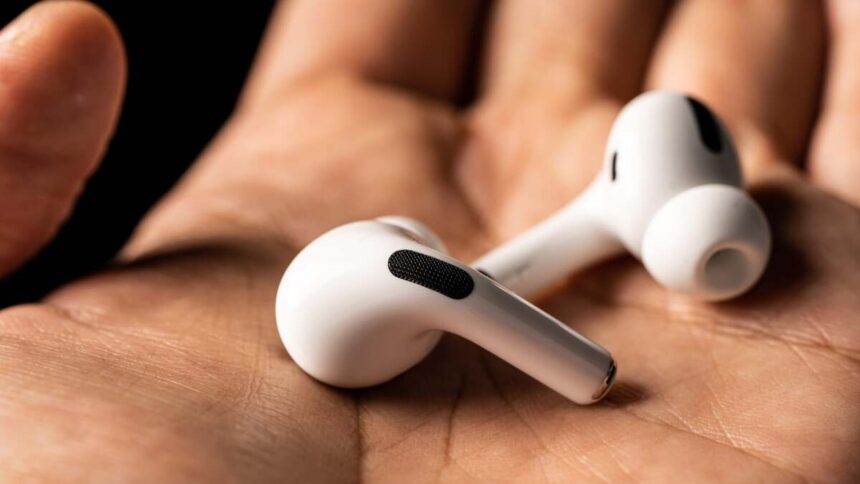
Ensuring a Proper Fit
Unlike the standard AirPods which are designed with a universal fit, AirPods Pro offer varied ear tip sizes for a more personalized fit. Your iPhone can assist in this process if you prefer not to choose a size on your own.
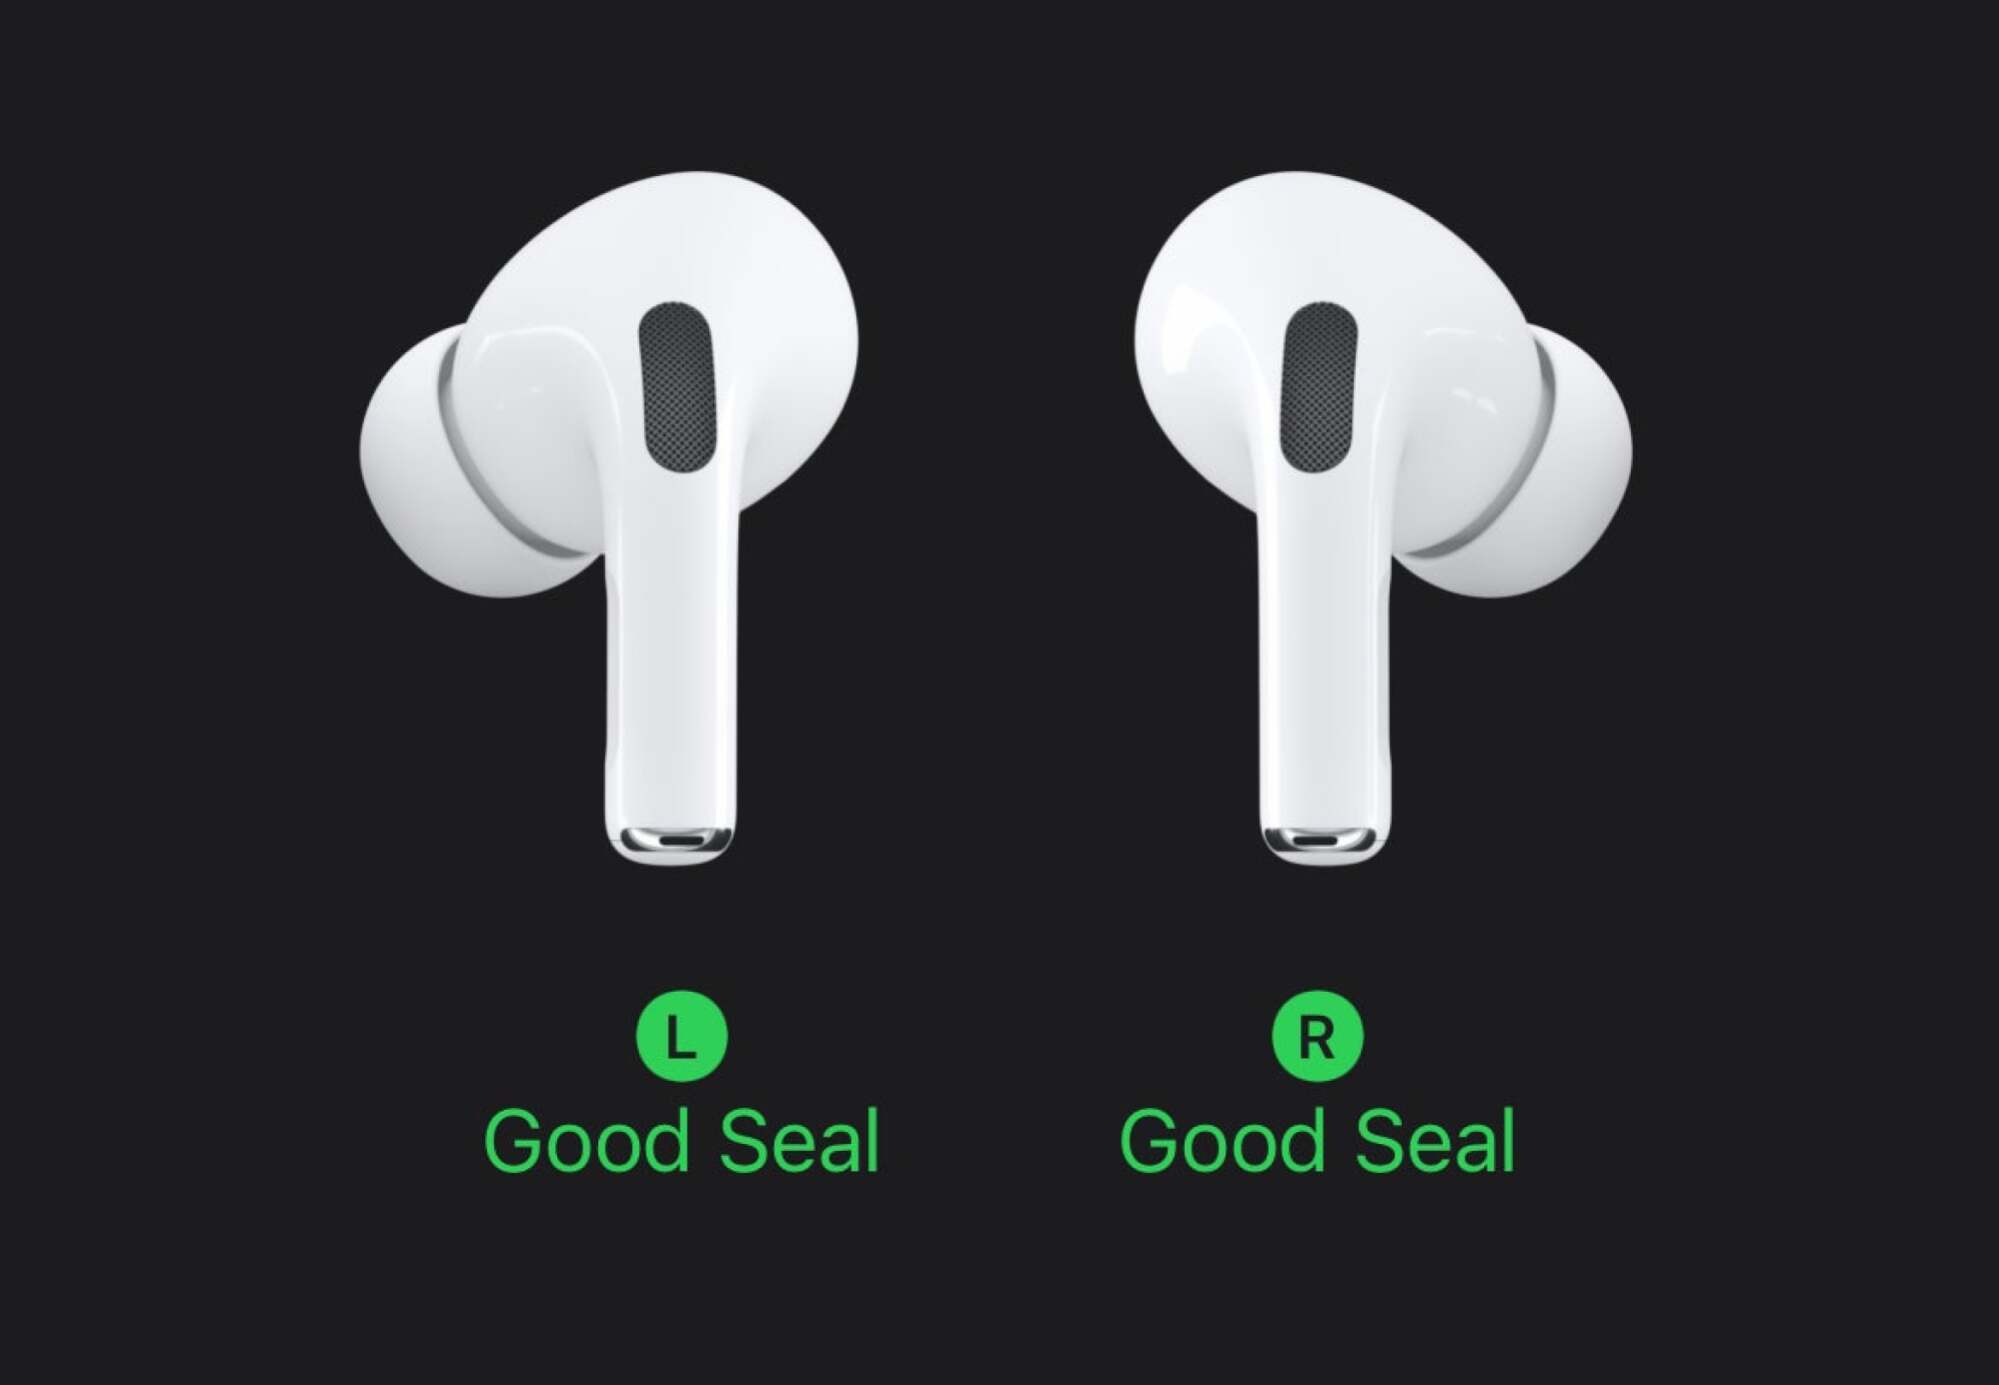
Access your AirPods Pro settings on iOS, then tap Ear Tip Fit Test. Press Continue, ensure your AirPods are securely trapped in your ears, and hit the play button to initiate the test. Your iPhone will play audio while checking the seal of your earbuds. If the test confirms a good fit, you’ll see a message indicating “Good Seal.” If it suggests otherwise, you may need to try a different size for optimal comfort.
Changing Your AirPods Pro Name
If you’d like to give your AirPods Pro a more personalized name rather than the default “Jake’s AirPods Pro,” simply navigate to the Name field in your AirPods Pro settings. Type your preferred name in the provided text box. For Mac users, right-click on your AirPods Pro in the Bluetooth menu and select “Rename.”
Ping Your AirPods Pro When Misplaced
In case of misplaced AirPods Pro, there’s no need to worry. If they are within range of an associated Apple device, you can make them emit a chirping noise to help locate them.
To proceed, open the Find My app, select the Devices tab, find your AirPods Pro, and tap Play Sound. If they are within range, they’ll start playing a sound loud enough for you to hear, so double-check that no one else is wearing them before proceeding.
Locate Your Second-Gen AirPods Pro Precisely
In addition to sound pinging, those using AirPods Pro 2 enjoy the added advantage of precise location tracking via the Find My app, allowing for effortless locating of both the earbuds and their charging case. Simply tap Devices, select your AirPods, and then tap Find.
Keep the Music Playing Even After Removing an AirPod Pro
AirPods have a feature that automatically pauses music when an earbud is removed. While this can be beneficial, you may wish to disable this particularly if you’re adjusting the fit frequently. After all, quick stem presses can still pause the music, making the automatic feature less critical.
To disable this function, toggle off the option for Automatic Ear Detection within your AirPods Pro settings.
Selecting the Active Microphone
Both AirPods are equipped with their own microphones, but typically only one is active at any given time. While the system can automatically switch between microphones, you have the option to designate one to be predominantly used, which is particularly helpful if one microphone malfunctions.
To assign a specific microphone, navigate to Microphone in your AirPods Pro settings, and choose either Always Left AirPod or Always Right AirPod.
Maintaining Your AirPods Pro Charge Above 80%
AirPods Pro feature a system known as Optimized Battery Charging, which allows the earbuds to charge to 80% and then hold there until it detects that you’ll need a full charge. This extends battery lifetime, but it may mean that the earbuds are only charged to 80% when you need them to be fully powered.
To disable this feature, go to your AirPods Pro settings on your iPhone, then tap the toggle next to Optimized Battery Charging. You’ll have the choice to Turn Off Until Tomorrow for a temporary suspension or Turn Off to stop the feature indefinitely. Further details on the benefits of this feature can be found here.
Activating Noise Cancellation with One AirPod
You do not need to wear both earbuds to experience noise cancellation. To enable noise cancellation while using just one AirPod, navigate to Settings > Accessibility > AirPods on your iPhone, and toggle on Noise Cancellation With One AirPod.
Siri’s Announcement of Notifications and Calls
Using the Announce Notifications feature, Siri can alert you to new messages, interrupting any ongoing activity. While convenient, not everyone prefers this approach. Here’s how to adjust the settings.
On iOS, navigate to Settings > Apple Intelligence & Siri > Announce Notifications. To disable the feature completely, turn off the toggle next to Announce Notifications. Individual app settings can also be managed to disable the feature, with some apps offering the choice to announce all notifications or limit it to “time-sensitive” alerts.
The option Reply Without Confirmation is also available. When enabled, it allows Siri to send replies without reading them back first, which can provide convenience but also risks errors in what you mean to convey.
For call announcements, go to Settings > Siri > Announce Calls and select to receive announcements either Always, Headphones & Car, Headphones Only, or Never. If you retain this feature on newer AirPods Pro, you can acknowledge notifications or calls by nodding or shaking your head.
Tweaking Audio Settings to Your Preference
Though the AirPods Pro deliver impressive sound quality, those with specific preferences can fine-tune their audio experience. To do this, head over to Settings > Accessibility > Audio & Visual > Headphone Accommodations on your iPhone. Here, you can adjust your audio for balanced sound, vocal clarity, or brightness, while slightly boosting softer sounds as desired.
For even more personalized settings, select Custom Audio Setup. This allows for tailored audio setups for calls, music, movies, and Transparency Mode. After completion, you will have a unique sound experience designed specifically for your preferences with AirPods Pro.
Activating Conversation Boost
Conversation Boost is a valuable feature located within the Headphone Accommodations settings. When enabled, this option directs your AirPods’ focus on the person in front of you, reducing background noise to enhance conversation clarity in bustling environments. Learn more about this feature in our guide here.
Implementing Voice Isolation
Voice Isolation is a fantastic yet often overlooked function from Apple designed for calls. Activating this feature allows your device to emphasize your voice during conversations while minimizing surrounding distractions, potentially blocking sounds like barking dogs from being picked up. Wide Spectrum is another available option, which lets in more ambient sound; this could be useful if you want others on the other end to hear what’s happening on your side of the conversation — though typically, Voice Isolation is the preferred option.
This function was traditionally limited to iPhones, iPads, or Macs, but as of iOS 18, it now works with AirPods Pro 2 as well. During your next call using AirPods Pro, access Control Center and select the “Controls” option at the top of the display to switch to Voice Isolation.
Activating Live Listen
Live Listen allows your iPhone to act as a microphone, enhancing your ability to hear your surroundings through your AirPods. To activate this capability, go to Control Center on your iPhone, tap on the (+) icon, and search for “Live Listen” to add it to your Control Center. Once added, you can tap it to start, and your AirPods will amplify all sounds captured by your iPhone’s microphone. Fine-tuning of Transparency Mode settings can also be done from here if adjustments have been made previously.
Managing AirPods Pro Modes Using Your Apple Watch
If connected to your Apple Watch, managing your AirPods Pro modes becomes even more accessible. Simply open the Control Center on your watch and press the AirPlay button to switch between Noise Control modes.
Unpairing AirPods If Issues Arise
Should your AirPods Pro exhibit any problematic behavior, unpairing them can often resolve the issue. This can be done easily on an iPhone through the AirPods Pro settings by selecting “Forget This Device.” Confirm the action by selecting the option again in the pop-up. Mac users can achieve the same result by right-clicking their AirPods from the Bluetooth menu and choosing “Remove.”
To reconnect, simply hold the case open next to your iPhone as you would have during the initial setup, and they’ll resync seamlessly.