Unlocking the Magic of Pre-Made Pizza Dough
Pre-packaged pizza dough is undeniably one of the most convenient items found in the grocery aisles. Available either in the freezer or refrigerated sections, it’s typically packaged in 16 to 20-ounce balls, boasting a consistent flavor profile. For just a few dollars, you can easily access a versatile yeast dough, allowing you to whip up delightful treats such as cheater cinnamon rolls, simple doughnuts, or pretzel bites. However, take it a step further and transform one ball of dough into four individual pizzas.
Kick Off Your Pizza Week
While four days might not fit the traditional work week, it’s a close enough approximation (especially for some healthcare workers who consider this a culinary challenge). Start by getting your hands on a ball of pre-made pizza dough. Most of the time, you’ll snag this from the grocery store, though some pizzerias might also sell it. On Sunday, grab a frozen 20-ounce ball and place it in the refrigerator — by lunchtime on Monday, it should be perfectly thawed. Sprinkle some flour onto your counter, then transfer the pizza dough onto this surface and cut it into four equal portions using a knife or a sharp bench scraper.

When rolling out or stretching your dough (similar to working with pie crust), it’s essential to understand that the initial shape will dictate the final outcome. If you begin with a peculiar triangle, your pizza will reflect that odd shape. While this isn’t disastrous, for consistent results, it’s best to round your dough pieces and allow them to proof in the fridge over the coming days. This will help them develop a nice skin that promotes a good rise. Shape the dough balls, placing them seam-side down on a floured surface. For guidance, a video on bread shaping can provide helpful tips.
Coat the dough balls lightly in flour before loosely wrapping three of them in a plastic bag or two, ensuring they aren’t touching each other. Reused produce bags work brilliantly for this purpose. Secure the bags and place them in the refrigerator. Over the week, the dough will gradually proof and even develop a deeper flavor.
Upgrade Your Pizza Game with Better Tools:
Craft the Perfect Personal Pizza

1. Preheat Your Oven
The ball of dough resting on your countertop is designated for your meal today. While lunch is my preferred pizza time, feel free to wrap and store it in the fridge until it suits your schedule. Cover the dough with a tea towel and let it sit as you set your oven to 400°F. A cast iron skillet is ideal for cooking personal pizzas, but alternatives like a pizza stone, Dutch oven, or a parchment-lined baking tray will work just as well. Remember to preheat your heavier cookware, though a sheet tray heats up quickly and doesn’t require this step.
2. Shape the Dough
Once the oven reaches the desired temperature, pick up the ball and use your fingertips to flatten it while gently rotating it. Start from the center and work your way outward. The dough should stretch easily if the gluten has relaxed, but if it fights back, let it rest for five additional minutes before trying again. Aim for a thin base, being careful not to create any tears.
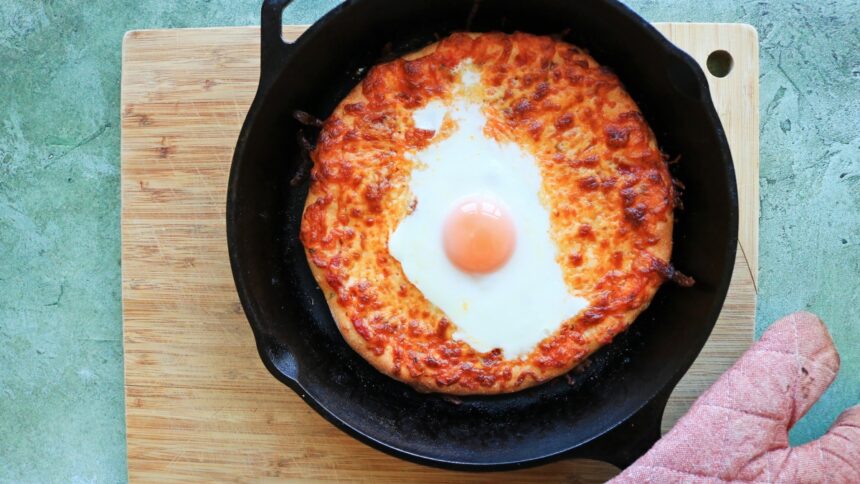
3. Top and Bake
Once the dough has reached about 8 to 9 inches in diameter, carefully transfer it to your preheated skillet. You have a short moment to smooth out any wrinkles before it begins to set. Then, add your favorite toppings, whether it’s tomato sauce, barbecue sauce, or one of many alternative sauces, along with cheese and your chosen ingredients. Bake for approximately 15 minutes, or adjust timing for a softer crust.
Feel free to vary the toppings daily or even take breaks — the dough remains viable for about five days without overproofing. There’s the joy of budget-friendly meals; it’s only the start of your pizza week, and there are still three delicious pizzas waiting for you in the fridge. Now that’s a week to celebrate!