Experience macOS 26 Tahoe Safely with a Virtual Machine
Interested in exploring macOS 26 but hesitant about using an unstable pre-release as your main operating system? Setting it up within a virtual machine is a perfect solution. This allows you to familiarize yourself with the new features without risking any disruptions to your primary computer.
We’ve previously discussed how to install Tahoe, though that method overhauls your existing OS. This approach may suffice if you have a spare device dedicated to testing or are willing to endure some rough edges and possible data loss. Fortunately, UTM provides a free way to run virtual machines on Apple Silicon Macs and it supports macOS 26 Tahoe right now—just a few minutes of setup are required.
This guide is tailored for Macs equipped with Apple Silicon. For those using Windows or older Intel-based Macs, alternative methods for testing Tahoe will need to be explored.
Obtain macOS 26 Tahoe
Begin by downloading the operating system. If you don’t have an Apple Developer account, you’ll need to create one—you can register here. A fee of $99 is required eventually, but you can simply exit the tab when prompted.
Next, navigate to developer.apple.com/download. You’ll find a selection of operating system downloads available, including the macOS 26 beta. Click the link for Mac computers with Apple silicon to fetch the IPSW file—note that it is a sizable 18.29 GB, so ensure you have adequate storage.
Additionally, download the Device Support for macOS 26 beta. Open the DMG file and execute the package installer. Installing this file is essential for UTM to function correctly with Tahoe—don’t overlook this step.
Configure UTM
Head over to download UTM, an open-source application for Mac, if it isn’t already installed. The version available through the Mac App Store is priced at $10 to help support the developers, but a free installer is also available.
Launch UTM and click the plus icon to begin the creation of a new virtual machine. Select Virtualize instead of Emulate for optimal performance. You’ll need to allocate memory and hard drive space—using the default settings is generally advisable, provided there’s enough free disk space. At some point, you’ll be prompted to provide the IPSW file.
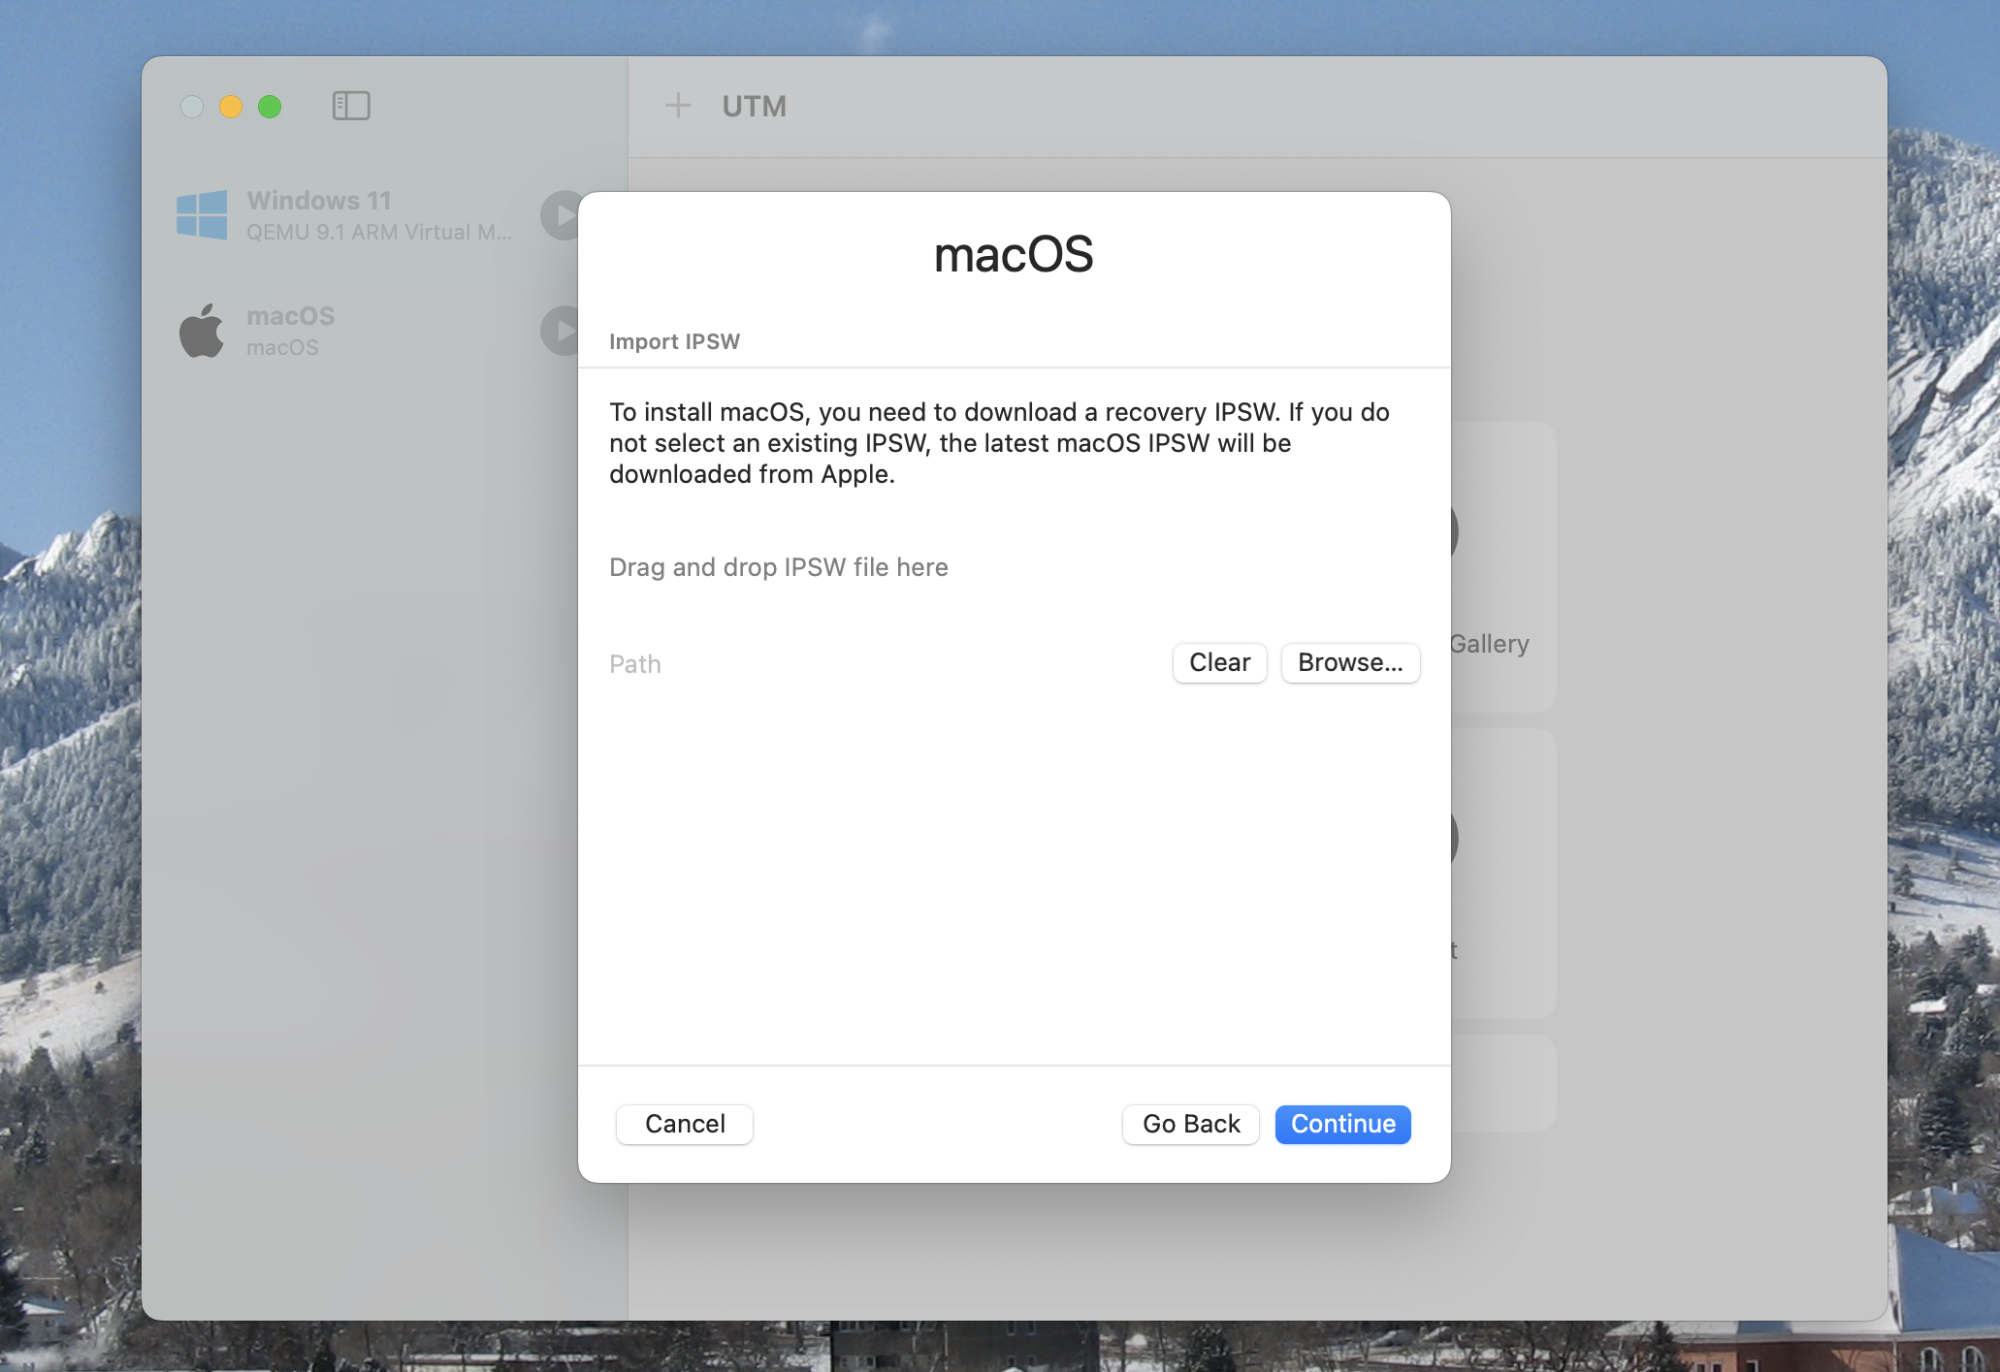
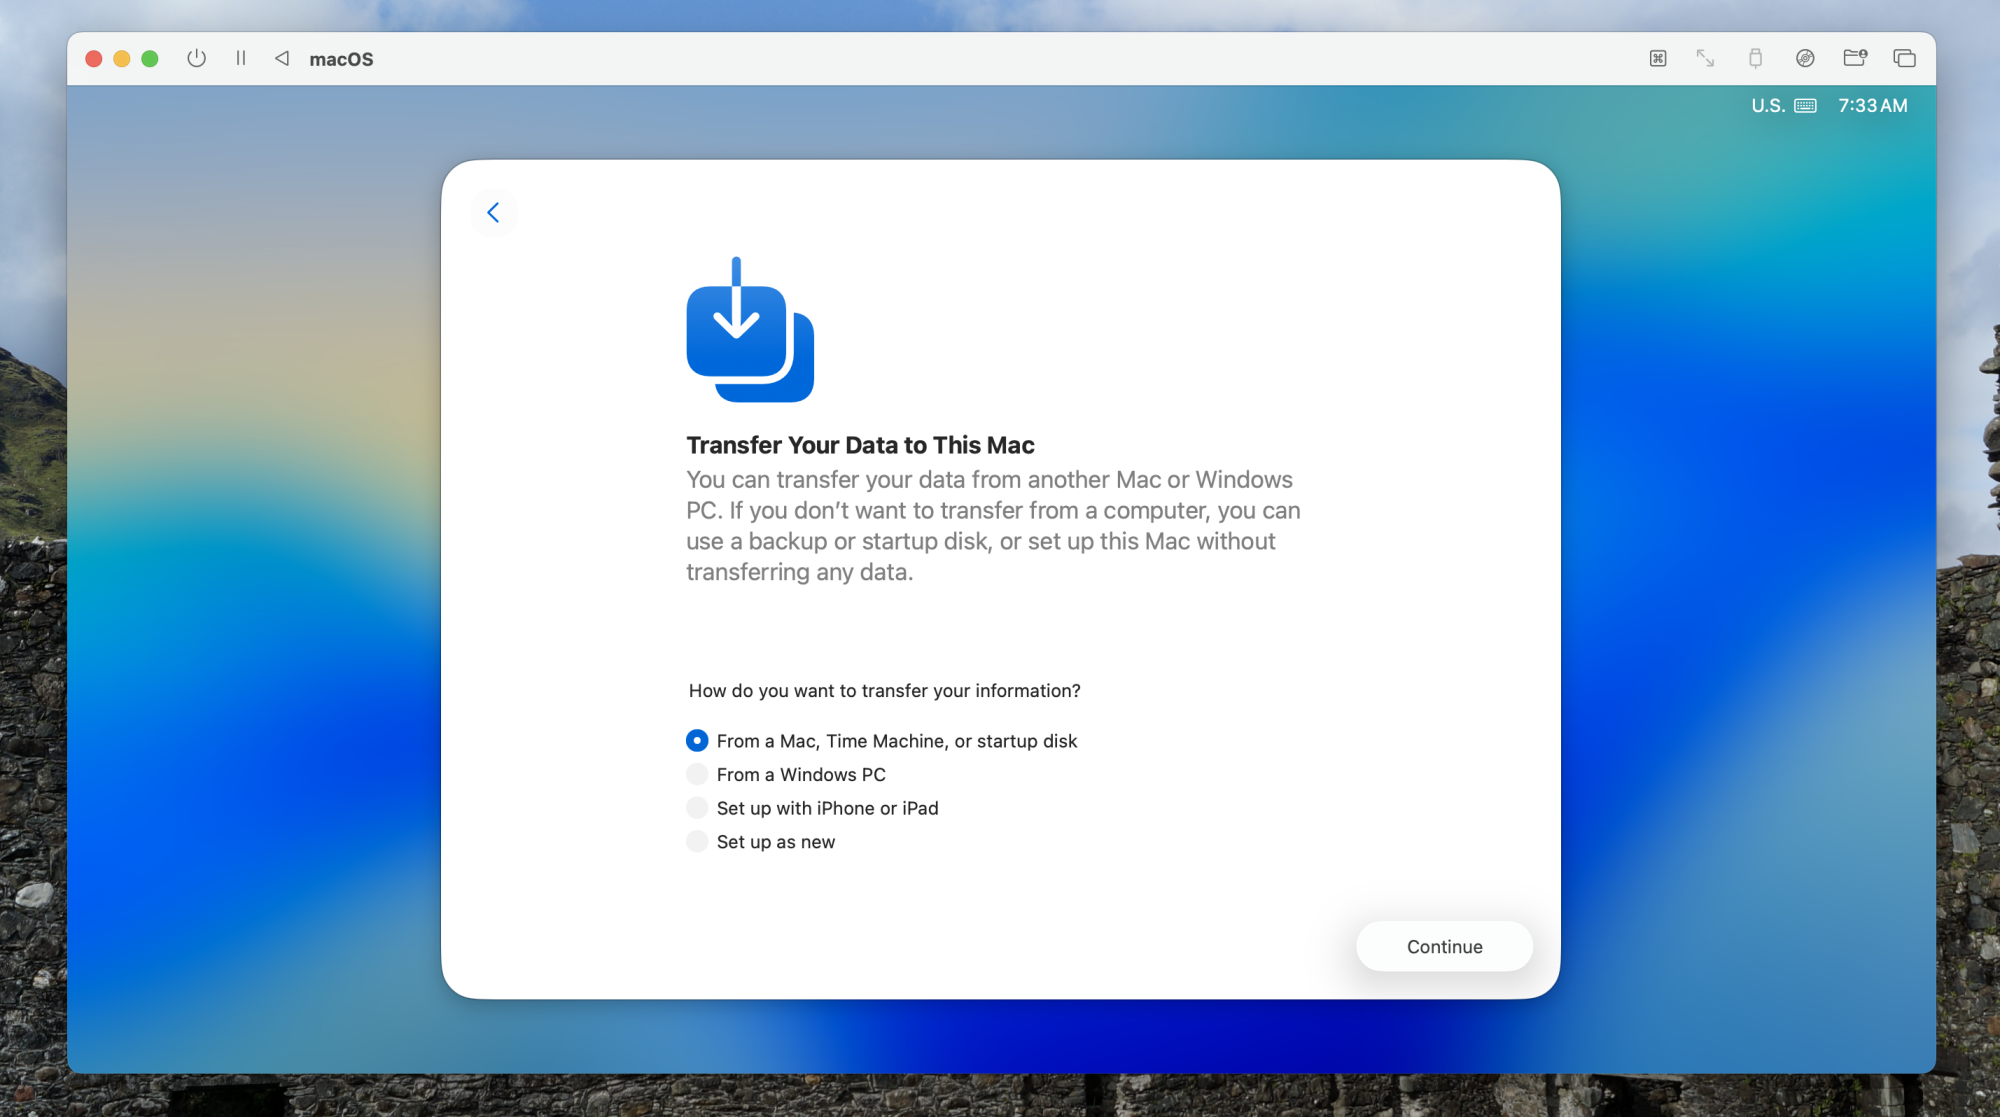
Drag the downloaded file into the designated area and press Continue. The installation will commence mostly without interruption. Eventually, the setup wizard will appear, allowing you to create an account, select your language and region, and sign into iCloud. It is advisable to skip the data transfer step.
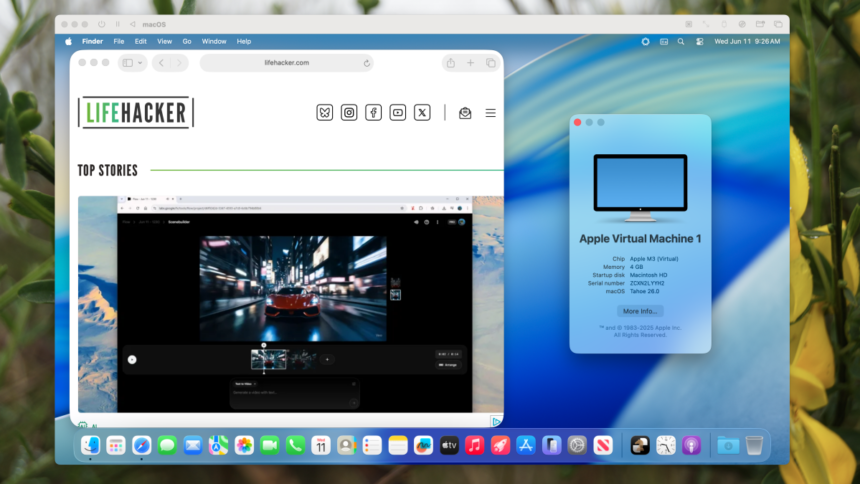
Once the setup is complete, logging into macOS Tahoe will be at your fingertips.
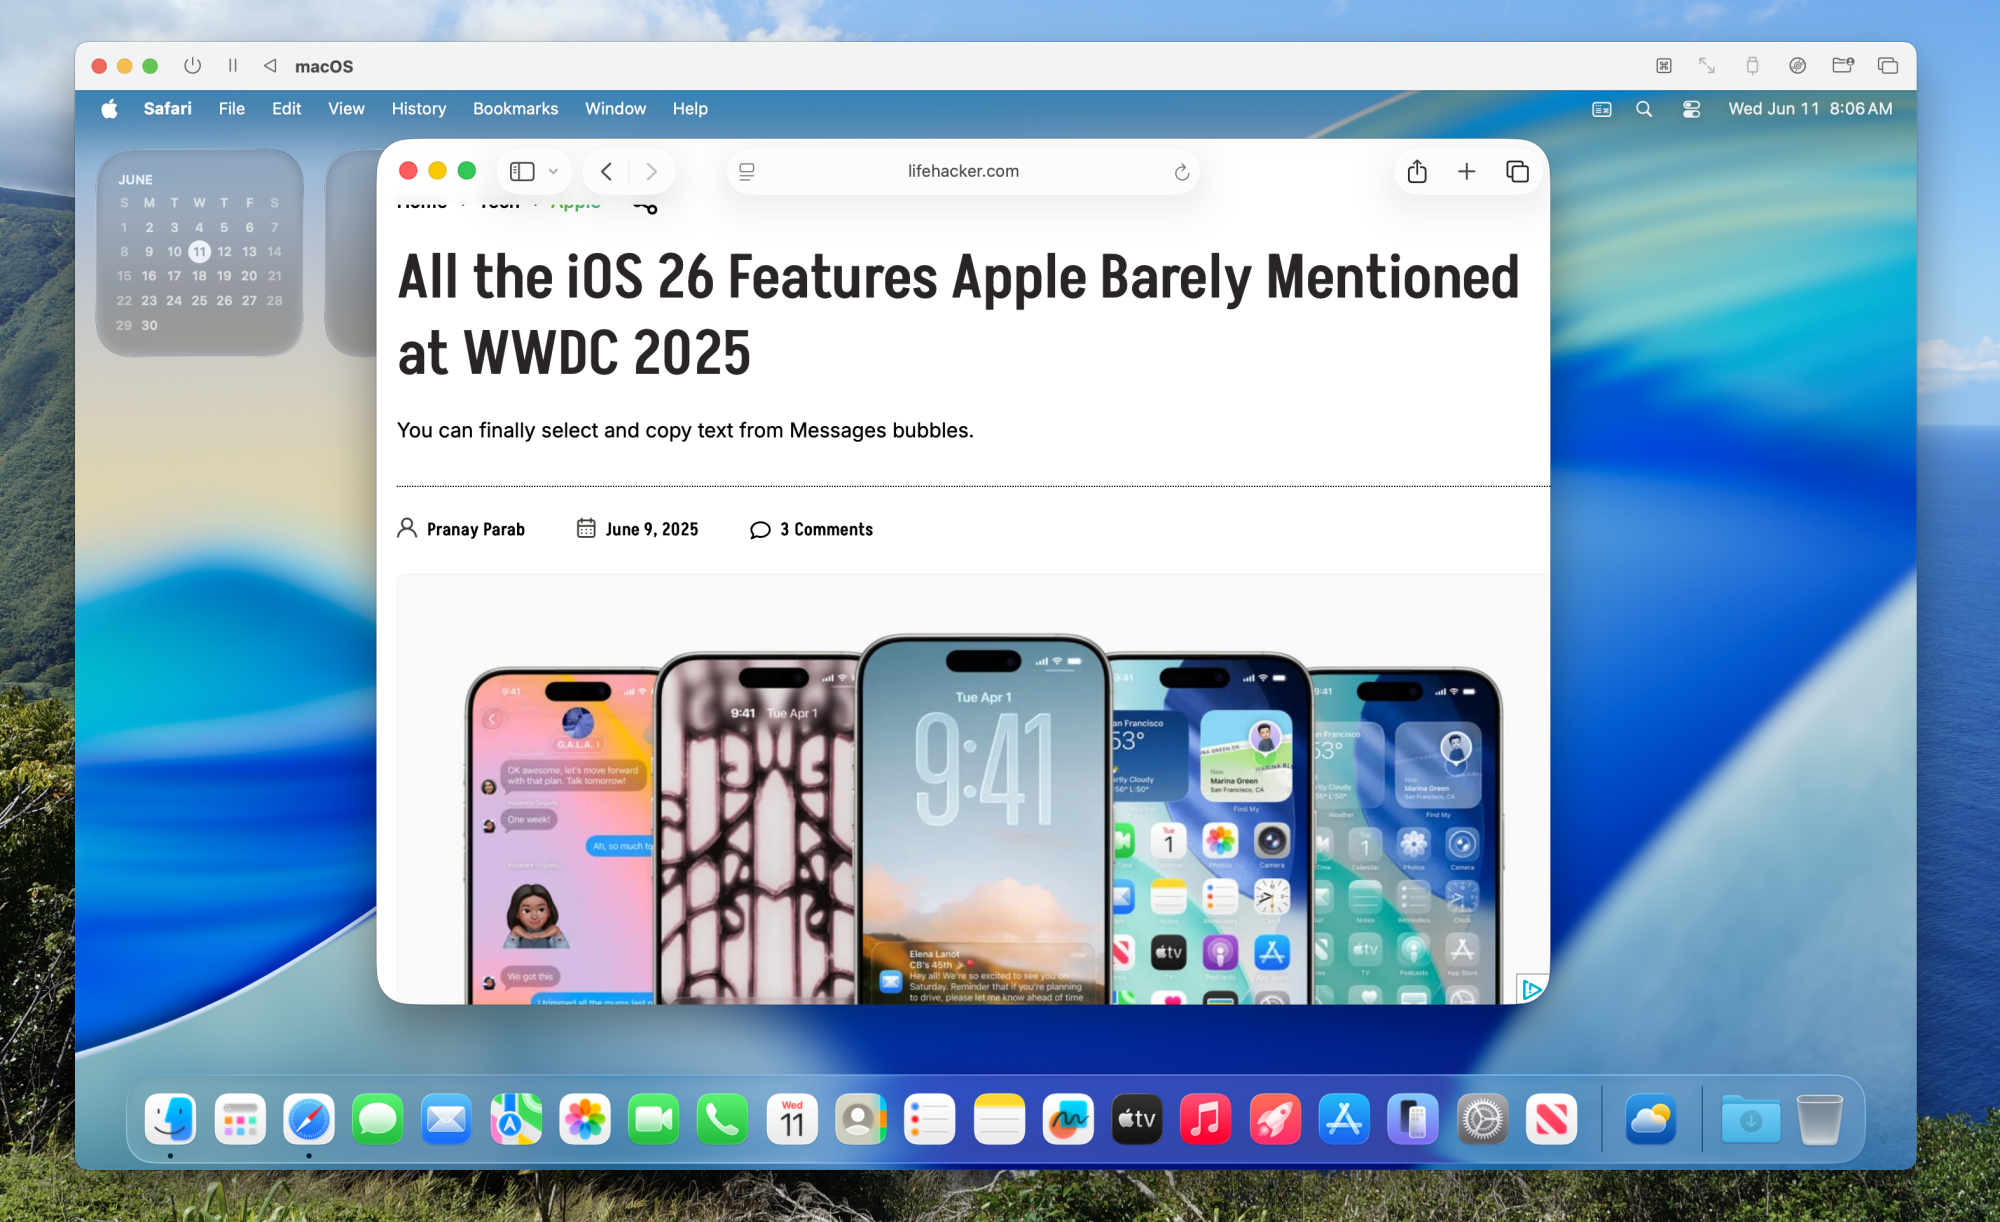
The experience feels akin to using a brand-new Mac. Seamlessly transitioning the mouse between the host and virtual machine is effortless, and resizing the window appropriately adjusts the resolution within the virtual system.
To access files on your Mac from the virtual environment, consider utilizing the file sharing feature available on macOS. It’s simple to connect to shared folders from the virtual machine, including files shared from the host Mac.
This will serve as the method of choice for experimenting with the features of Tahoe until its official launch in the fall. If exploration of Apple’s forthcoming OS sounds appealing without fully committing to a beta version, this method is highly recommended.